Connect the printer
Connect the Zebra printer to a Windows computer using USB. The USB connection may be behind a sticker on the back of the printer.
Install Zebra Setup Utilities
Open Zebra Printer Setup Utilities. Scroll down to Zebra Printer Setup Utilities for Windows and click Download. Download and install the setup package identified in the supplied guide as zsu-1191327.zip.
Enroll the printer in the cloud
Open the Zebra setup application.
- Click Open printer tools.
- Click Settings.
- Click the three-dot button beside Send file.
- Select the supplied enrollmentstring.txt file.
- Click Send.
Configure Wi-Fi
Open the Zebra setup application.
- Click Configure Printer Connectivity.
- Select Wireless, then click Next.
- Click Next again.
- Select the WiFi Band that matches your local wireless connection configuration, then click Next.
- Set WLAN Country/Region to USA, Canada, then click Next.
- Enter the network name (EESID), select security mode WPA=PSK/WPA2-PSK, then click Next.
- Select the String radio button and enter your Wi-Fi password as the PSK name, then click Next.
- Click Next.
- Click Next again.
- Click Finish.
If your security mode differs from WPA=PSK/WPA2-PSK, email zebra@powersystemsinc.ca.
Confirm setup and test printing
Once setup is complete, email zebra@powersystemsinc.ca. When confirmed, a test label will be sent to your printer to verify that it is working.
Print a receipt label
After your dealership has been set up with a printer, users will see a print button beside each receipt on the scanner. Click the print button to print a label for the selected receipt.
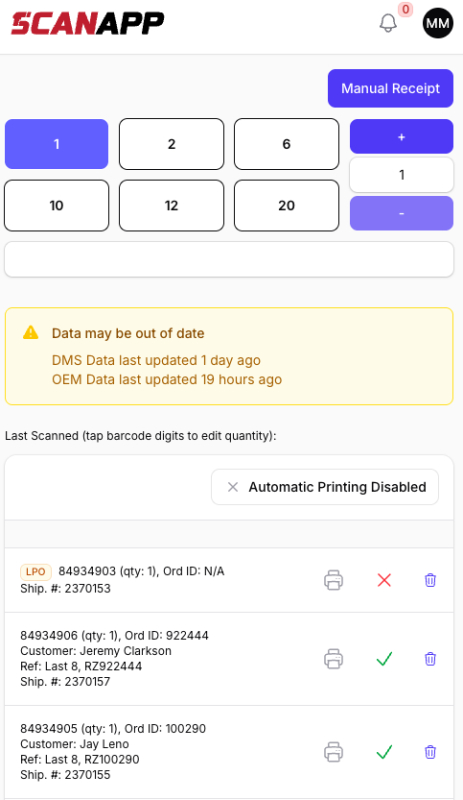
Receipt print buttons and printing status. Change print options
- Click the printer status button above the receipt list.
- Open the Automatic Printing dropdown.
- Select the required option:
- Printing Disabled
- Automatic All Scan Printing
- Automatic Standard Scan Printing
- Automatic LPO Scan Printing
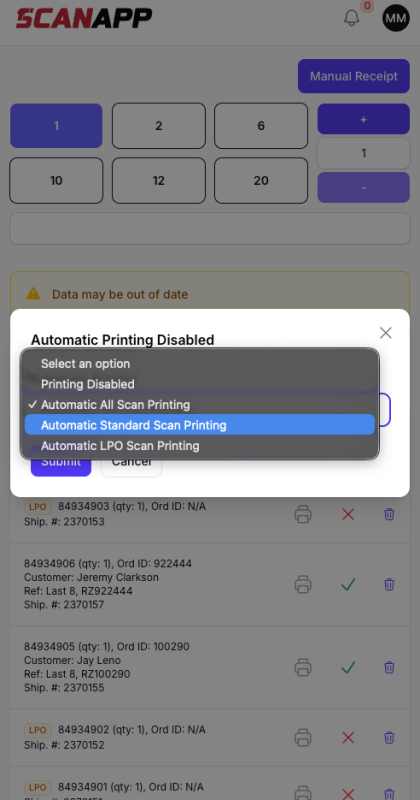
Available automatic printing options. Click Submit to save your selection.
Click Cancel to close without submitting.
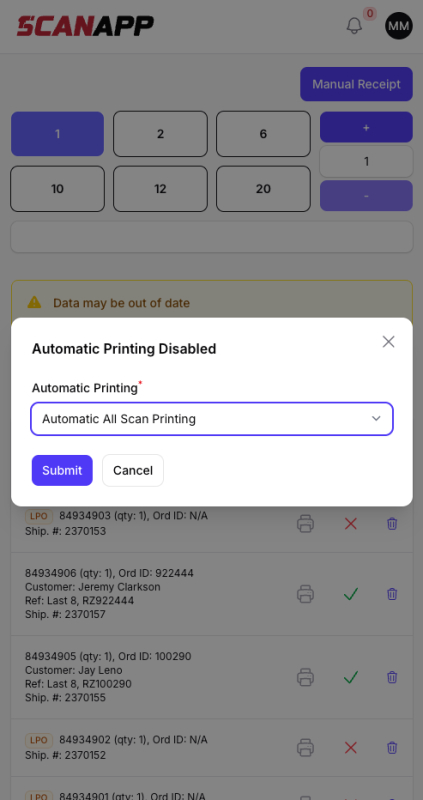
Automatic All Scan Printing selected. The status changes to All Scans Printing Enabled.
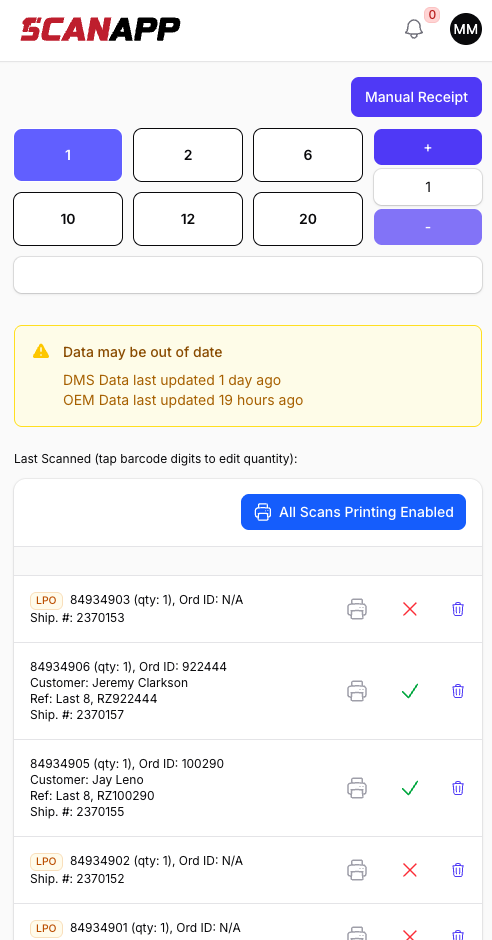
All Scans Printing Enabled.
What labels does the printer use?
Use 4" × 2" direct thermal barcode labels (shipping labels compatible with Zebra).